
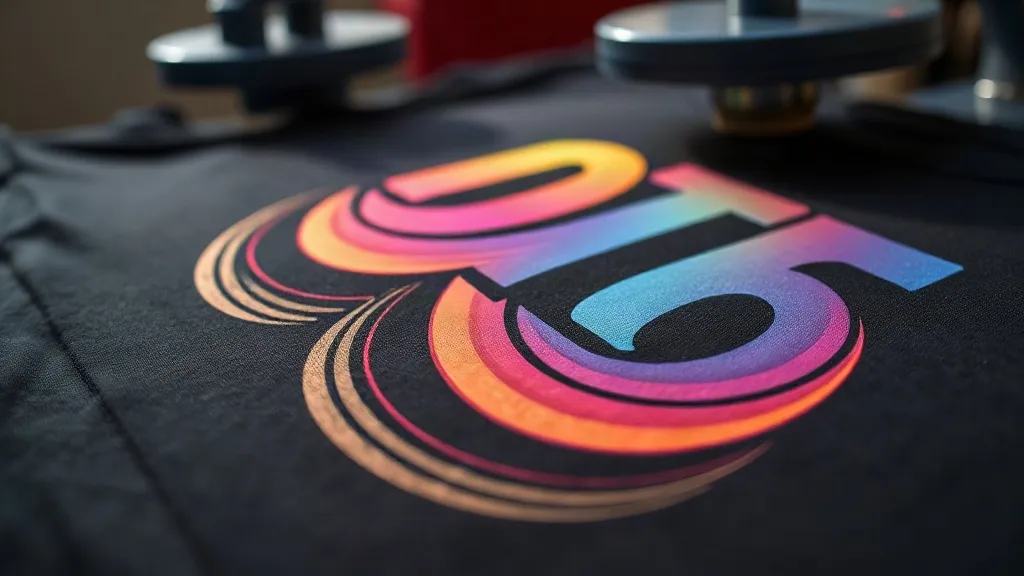
If you've ever peeled a dtf transfers sheet too early or watched a print crack after the first wash, you know that great results don't happen by accident. Direct-to-film printing has exploded in popularity because it lets you transfer full-color designs onto almost any fabric without the hassle of weeding or masking. But behind every flawless print is a series of small decisions that make or break the outcome. In this guide, I'll walk you through the practical details that separate a amateur attempt from a professional finish, drawing on real-world experience from countless print runs.
Why DTF Transfers Deserve a Spot in Your Workshop
DTF technology has changed the game for small shops and hobbyists alike. Unlike sublimation, which only works on light-colored polyester, dtf adheres to cotton, blends, and even dark garments. The process is straightforward: print your design onto a special film, dust it with adhesive powder, cure it, and press it onto the fabric. The result is a soft, stretchable print that holds up wash after wash. But the simplicity of the concept belies the nuance of execution. Let's dig into the details that matter.
Choosing the Right Film for Your DTF Transfers
Not all films are created equal. The film you choose affects ink absorption, powder adhesion, and the final hand feel. Here's what to look for:
- PET film: The standard for DTF. It's stable, releases cleanly, and works with both pigment and dye-based inks. Look for a film with a matte coating on the print side to prevent ink spreading.
- Thickness: Thinner films (75-100 microns) conform better to textured fabrics, while thicker films (100-125 microns) are more forgiving for beginners because they resist curling during printing.
- Release layer: A good film will release the print easily after pressing, without tearing or leaving residue. Cheap films often skimp on this layer, leading to frustrating transfers.
I've tested dozens of films over the years, and the difference between a premium film and a budget one is immediately obvious when you peel the transfer. Premium films release smoothly even at lower temperatures, which reduces the risk of scorching delicate fabrics.
The Role of Adhesive Powder in DTF Transfers
Adhesive powder is the unsung hero of the DTF process. It's what allows the ink to bond to the fabric and survive repeated washing. There are two main types: thermoplastic polyurethane (TPU) and ethylene vinyl acetate (EVA). TPU is the industry standard for DTF because it's flexible, durable, and bonds well to a variety of fabrics. EVA is cheaper but tends to be stiffer and less wash-resistant.
When applying powder, less is more. You want an even, thin coating that covers the wet ink completely but doesn't pile up. Excess powder leads to a rough texture and can cause the print to crack. I recommend using a powder shaker with a fine mesh to distribute it evenly, then shaking off the excess before curing.
Curing: The Make-or-Break Step
Curing melts the powder and drives off moisture, turning the powder into a flexible adhesive layer. The goal is to reach the powder's melting point without scorching the film or over-curing the ink. Most TPU powders melt between 150°C and 160°C (300°F to 320°F). A heat press or a dedicated curing oven works, but you need to monitor temperature and time closely.
Here's a reliable method: set your press to 160°C (320°F) with medium pressure, and cure for 10-15 seconds. The powder should turn from white to a slightly glossy, translucent finish. If it's still powdery, it needs more time. If it's smoking or turning brown, you've gone too far. I always recommend doing a test cure on a scrap piece before committing to a full sheet.
Pressing DTF Transfers: Temperature, Pressure, and Time
Pressing is where your careful prep pays off. The fabric type dictates the settings, but here are some general guidelines:
- Cotton and blends: 160°C (320°F), medium pressure, 15-20 seconds.
- Polyester: 150°C (300°F), light pressure, 10-15 seconds to avoid dye migration.
- Nylon: 150°C (300°F), medium pressure, 15 seconds. Nylon can be tricky; pre-press the fabric to remove moisture.
- Leather and faux leather: 130°C (265°F), light pressure, 10 seconds. Use a protective sheet to prevent scorching.
Always pre-press the garment for 5-10 seconds to remove wrinkles and moisture. Then place the transfer with the printed side down and press. Wait for the film to cool completely before peeling; peeling hot can distort the print. For a softer feel, you can do a second press with a Teflon sheet for 5 seconds after peeling.
Finding Reliable DTF Transfers Near Me
If you're outsourcing your prints, finding a trustworthy supplier is crucial. Searching for dtf transfers near me can lead you to local shops that offer quick turnaround and personalized service. But don't just go by proximity; check reviews, ask for samples, and verify the quality of their films and powders. A good supplier will be transparent about their materials and happy to answer technical questions. For those who prefer online ordering, established retailers like Harwin DTF offer consistent quality and fast shipping.
Troubleshooting Common DTF Transfer Issues
Why is my transfer cracking after washing?
Cracking usually stems from under-curing the powder or using too much powder. Ensure the powder is fully melted and that you're not over-saturating the ink. Also, check your press pressure; too little pressure prevents proper adhesion.
Why is the print peeling off?
Peeling can happen if the fabric wasn't pre-pressed (moisture interferes with bonding) or if the transfer was peeled too soon. Always let the film cool completely before peeling. Additionally, some fabrics with heavy finishes (like water-repellent coatings) may need a longer press time or higher pressure.
Why does the print look dull?
Dullness often indicates insufficient pressure or temperature during pressing. Make sure your press is calibrated and that you're using the correct settings for the fabric. Also, check that the film is completely flat; wrinkles can cause uneven transfer.
Frequently Asked Questions About DTF Transfers
What fabrics work best with DTF transfers?
DTF works on almost any fabric, including cotton, polyester, blends, nylon, and even leather. It's particularly good for dark and light colors alike.
How long do DTF transfers last?
With proper application and care, DTF prints can last 50+ washes without significant fading or cracking. Wash inside out in cold water and avoid harsh detergents.
Can I use DTF transfers on items with zippers or seams?
Yes, but you'll need to use a pressing pillow or a smaller press to get into tight areas. Ensure even pressure across the transfer.
Do I need a special printer for DTF?
You can convert an inkjet printer with DTF inks and film, or buy a dedicated DTF printer. For occasional use, outsourcing to a service is more cost-effective.
How do I store unused DTF transfers?
Store them in a cool, dry place away from direct sunlight. Keep them flat to avoid curling. Properly stored transfers can last up to a year.