
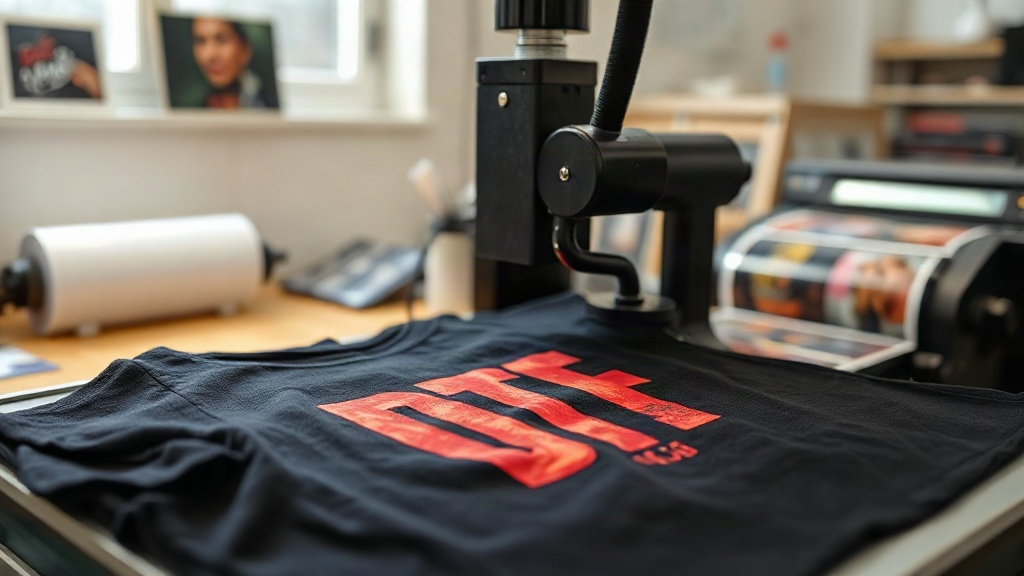
When you first hear about DTF transfers, you might wonder how they differ from the vinyl or screen-printed shirts you've seen before. DTF stands for Direct-to-Film, a printing method that has quickly become a favorite among crafters and small business owners. Unlike traditional techniques, DTF transfers allow you to print full-color designs onto a special film, then heat-press them onto almost any fabric. The result? Vibrant, stretchable, and durable prints that feel soft to the touch. In this guide, I'll walk you through everything you need to know about DTF transfers, from the basics to pro tips I've picked up after years of working with this technology.
What Are DTF Transfers and How Do They Work?
At its core, a DTF transfer is a printed design on a special PET film. The process involves printing your artwork onto the film using a DTF printer, which lays down white ink as a base, followed by CMYK inks. A powdered hot-melt adhesive is then applied to the wet ink, and the film is cured. Once cured, the transfer is ready to be heat-pressed onto a garment. The adhesive melts under heat, bonding the ink to the fabric. What sets DTF apart is its ability to adhere to a wide range of materials, including cotton, polyester, blends, and even leather. There's no need for pre-treatment, and the prints are incredibly stretchable, making them ideal for activewear.
The DTF Printing Process Step by Step
Understanding the process helps you appreciate the magic behind DTF. Here's a breakdown:
- Design Preparation: Your artwork is prepared in a RIP software, which handles color management and ensures the white ink layer is correctly generated.
- Printing: The DTF printer prints the design onto the film. The printer first lays down white ink, then color inks on top. This order is crucial because the white ink acts as an opaque base when transferred.
- Powdering: While the ink is still wet, a TPU adhesive powder is sprinkled over the print. The powder sticks to the ink.
- Curing: The film passes through a curing oven or heat press to melt the powder, creating a smooth, dry surface. The transfer is now ready.
- Transfer: The film is placed on the fabric and heat-pressed. The adhesive melts, bonding the design to the fabric. After cooling, the film is peeled away, leaving the design behind.
Each step requires attention to detail, but once you get the hang of it, DTF becomes a fast and reliable method for producing custom apparel.
Why Choose DTF Transfers Over Other Methods?
If you're familiar with DTG (Direct-to-Garment) or screen printing, you might wonder why DTF is gaining so much traction. Here are a few compelling reasons:
- Versatility: DTF works on almost any fabric, including dark and light colors, without the need for separate pre-treatment or multiple screens.
- Cost-Effective for Short Runs: Unlike screen printing, which requires setup costs per color, DTF is economical for small batches and one-offs.
- No Weeding: With vinyl, you have to weed out tiny details. DTF eliminates that tedious step.
- Durability: When applied correctly, DTF prints withstand repeated washing without cracking or fading.
- Stretchability: The prints stretch with the fabric, making them perfect for sportswear and stretchy materials.
From my experience, DTF shines when you need detailed, multi-color designs on demand. It's a game-changer for small businesses that offer personalized products.
How to Apply DTF Transfers for Best Results
Applying a DTF transfer might seem straightforward, but following the right steps ensures a long-lasting, professional finish. Here's my tried-and-true method:
Step 1: Prepare Your Workspace and Garment
Set your heat press to the recommended temperature, usually around 300°F to 325°F (150°C to 160°C). Pre-press the garment for a few seconds to remove moisture and wrinkles. This step is often overlooked but makes a big difference in adhesion.
Step 2: Position the Transfer
Place the DTF transfer film on the garment with the printed side facing up. If you're using a transfer with a white backing, make sure the design is oriented correctly. Use heat-resistant tape if needed to keep it in place.
Step 3: Press and Peel
Apply medium to heavy pressure for 10-15 seconds. After pressing, allow the transfer to cool completely before peeling. This is crucial: peeling while hot can cause the design to stretch or the adhesive to string. Once cooled, peel the film off in a smooth, steady motion. If any part of the design lifts, press again for a few seconds.
Step 4: Post-Press for Durability
For added durability, cover the design with a Teflon sheet or parchment paper and press again for 5-10 seconds. This ensures the adhesive is fully set and the print is smooth.
Common DTF Transfer Problems and How to Fix Them
Even with the best practices, issues can arise. Here are some common problems and their solutions:
- Design peels off after washing: This usually means insufficient pressure or temperature during application. Increase pressure and ensure the press is at the correct temperature. Also, make sure the garment is pre-pressed to remove moisture.
- Cracking or fading: Over-stretching the transfer during peeling or using too high heat can cause this. Always let the transfer cool before peeling and avoid excessive heat.
- Adhesive residue on film: If you see a lot of adhesive left on the film after peeling, the transfer might not have been pressed long enough. Try increasing the press time by a few seconds.
- Colors look dull: This could be due to incorrect color profiles in your printer software or insufficient white ink. Check your RIP settings and ensure the white ink layer is dense enough.
I've encountered these issues myself, and tweaking the pressure and temperature usually solves them. Keep a log of your settings for different fabrics to streamline your process.
DTF Transfers vs. Other Printing Methods: A Quick Comparison
To help you decide when to use DTF, here's a side-by-side comparison with DTG and screen printing:
- DTF: Best for full-color, detailed designs on various fabrics; no pre-treatment; low setup cost; moderate durability.
- DTG: Ideal for 100% cotton; requires pre-treatment; great for photographic designs; can be expensive for large orders.
- Screen Printing: Most cost-effective for large quantities; limited colors; not suitable for complex gradients; durable.
DTF fills the gap for small businesses that need versatility without compromising quality.
Expert Tips for Mastering DTF Transfers
After countless hours working with DTF, I've gathered some tips that can save you time and frustration:
- Invest in a quality DTF printer and supplies: Cheaper films and powders can lead to inconsistent results. Stick with reputable brands.
- Maintain your printer: Regular cleaning and maintenance prevent clogs and ensure consistent ink flow.
- Experiment with fabrics: DTF works on many materials, but each may require slight adjustments in temperature and pressure. Test on scraps first.
- Store transfers properly: Keep unused transfers in a cool, dry place away from direct sunlight to prevent the adhesive from degrading.
- Use a heat press, not an iron: Irons don't provide even pressure or consistent temperature, leading to poor adhesion.
These small practices can significantly improve your output and customer satisfaction.
Frequently Asked Questions About DTF Transfers
Can I use DTF transfers on 100% polyester?
Yes, DTF transfers adhere well to polyester. However, because polyester is heat-sensitive, use a lower temperature (around 280°F to 300°F) and shorter press time to avoid scorching. Always test on a small area first.
How long do DTF transfers last?
With proper application and care, DTF transfers can last as long as the garment itself. They withstand dozens of washes without fading or cracking. To prolong life, wash inside out in cold water and avoid harsh detergents.
Do I need a special printer for DTF?
Yes, you need a DTF printer that uses DTF inks and can handle the white ink layer. Converted inkjet printers are available, but dedicated DTF printers offer better reliability and print quality.
Can I layer DTF transfers?
Absolutely. You can layer multiple transfers to create complex designs. Press the first transfer, cool, peel, then press the second on top. Use a Teflon sheet to protect the design during subsequent presses.
What's the difference between DTF and DTG?
DTF involves printing on a film and then transferring to the garment, while DTG prints directly onto the fabric. DTF works on more fabric types and doesn't require pre-treatment, but DTG can produce softer prints on 100% cotton.
Whether you're a hobbyist or a business owner, mastering DTF transfers opens up a world of creative possibilities. With the right knowledge and a bit of practice, you'll be producing vibrant, durable custom apparel in no time.