
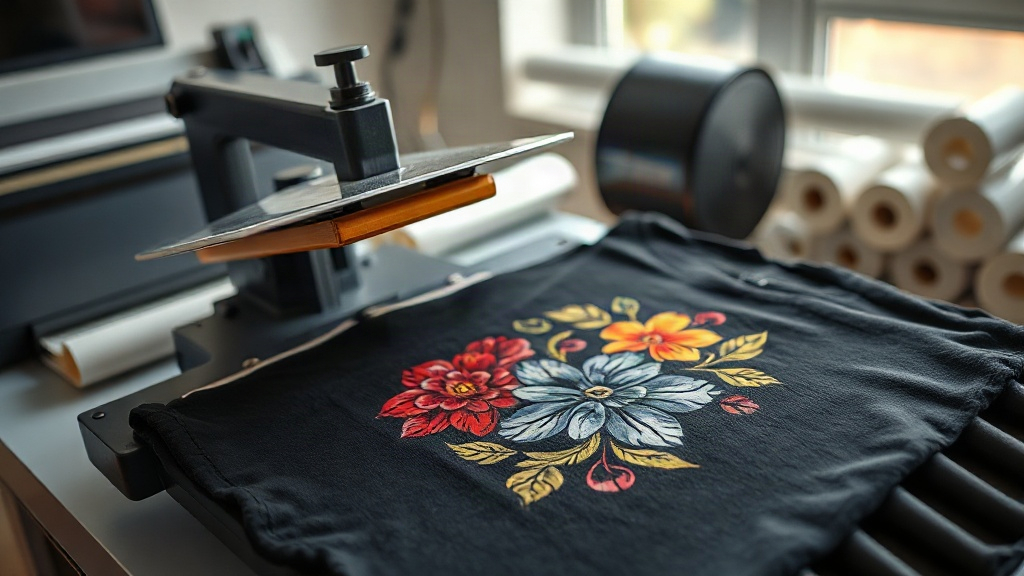
If you've been exploring custom apparel printing, you've likely heard about DTF Transfers. This technology has rapidly become a favorite among hobbyists and professionals alike, thanks to its versatility and ease of use. Unlike traditional methods that require specific fabrics or extensive setup, DTF transfers work on almost any material, from cotton and polyester to blends and even leather. In this guide, we'll walk you through everything you need to know to get started with DTF transfers and achieve stunning, long-lasting results.
What Are DTF Transfers?
DTF stands for Direct-to-Film. It's a printing process where your design is printed onto a special film, coated with a heat-activated adhesive powder, and then transferred onto fabric using a heat press. The result is a vibrant, detailed print that bonds seamlessly with the material. Unlike DTG (Direct-to-Garment), which prints directly onto the shirt, DTF transfers allow you to print the design first and apply it later, giving you more flexibility and reducing waste.
Why Choose DTF Transfers?
There are several compelling reasons why DTF transfers have gained such popularity:
- Fabric versatility: Works on cotton, polyester, blends, nylon, leather, and more.
- No pre-treatment: Unlike DTG, you don't need to pre-treat the garment before pressing.
- Vibrant colors: The prints are bright and opaque, even on dark fabrics.
- Durability: When applied correctly, DTF prints resist cracking, peeling, and fading.
- Cost-effective for small batches: Perfect for one-off designs or small runs without minimums.
How DTF Transfers Work: Step by Step
Understanding the process helps you troubleshoot and perfect your technique. Here's a breakdown of the DTF workflow:
1. Design Preparation
Start with a high-resolution image. DTF printing captures fine details, so ensure your design is at least 300 DPI. Remember to mirror the image horizontally before printing, as it will be pressed face-down onto the fabric.
2. Printing onto Film
Using a DTF printer, the design is printed onto a PET film. White ink is typically used as a base layer to ensure opacity on dark garments, followed by CMYK colors. The printer lays down the ink in a precise pattern.
3. Powder Application
While the ink is still wet, a thermoplastic adhesive powder is sprinkled over the print. The excess powder is shaken off, and the film is heated to melt the powder, creating a smooth, dry surface. This powder is what bonds the print to the fabric.
4. Curing the Transfer
The film is then cured in an oven or with a heat press to fully activate the adhesive. Proper curing ensures the transfer will withstand washing and wear.
5. Heat Press Application
Finally, the transfer is placed onto the garment and pressed with a heat press. The heat and pressure activate the adhesive, bonding the print to the fabric. After pressing, the film is peeled off (hot or cold peel, depending on the film type), leaving a soft, durable print.
Choosing the Right Equipment
To get started with DTF transfers, you'll need a few key pieces of equipment:
- DTF printer: A dedicated printer that uses DTF inks and prints onto film. Epson conversions are common.
- Heat press: A reliable heat press with accurate temperature and pressure control. A clamshell or swing-away press works well.
- DTF film: Special PET film designed for DTF printing.
- Adhesive powder: Thermoplastic powder that melts and bonds.
- Curing oven or heat press: For curing the powder.
If you're not ready to invest in a printer, you can also buy pre-printed DTF transfers from suppliers and apply them with just a heat press. This is a great way to test the waters.
Tips for Perfect DTF Transfers
Even with the right equipment, achieving flawless results requires attention to detail. Here are some tips:
- Control moisture: Moisture in the fabric can cause adhesion issues. Pre-press the garment to remove moisture.
- Use the right pressure: Medium to firm pressure is essential for proper adhesion. Too little pressure leads to peeling; too much can cause the print to spread.
- Temperature matters: Follow the film manufacturer's recommendations. Typically, 300-325°F (150-160°C) for 10-15 seconds.
- Peel technique: Some films require hot peel, others cold. Check your film's instructions.
- Wash inside out: To prolong the life of your print, wash garments inside out in cold water and avoid bleach.
Common Mistakes to Avoid
Beginners often run into a few common pitfalls. Steer clear of these:
- Not mirroring the image: If you forget to mirror, your text will be backwards.
- Insufficient powder: Too little powder means the print won't bond properly. Ensure even coverage.
- Under-curing: If the powder isn't fully melted, the transfer may peel. Cure until the powder looks glossy.
- Pressing on a damp garment: Always pre-press to remove moisture.
- Using the wrong film: Not all films are created equal. Use film designed for DTF.
DTF Transfers vs. Other Printing Methods
How does DTF stack up against other popular methods?
- DTF vs. DTG: DTG requires pre-treatment and works best on 100% cotton. DTF works on almost any fabric and doesn't need pre-treatment.
- DTF vs. Vinyl: Vinyl is great for simple designs but can't handle complex, multi-color images. DTF excels at detailed, full-color prints.
- DTF vs. Screen Printing: Screen printing is cost-effective for large orders but requires setup per color. DTF is ideal for small batches and intricate designs.
For many small businesses and hobbyists, DTF offers the best balance of quality, versatility, and cost.
Frequently Asked Questions
How long do DTF transfers last?
With proper application and care, DTF transfers can last as long as the garment itself. They resist cracking and fading through many washes. Always follow care instructions to maximize longevity.
Can I use DTF transfers on dark colors?
Absolutely! DTF transfers include a white ink base that makes colors pop on dark fabrics. The white layer ensures opacity, so your design remains vibrant even on black or navy shirts.
Do I need a special printer for DTF?
Yes, you need a DTF printer that uses DTF inks and can print onto film. However, if you don't want to invest in a printer, you can purchase pre-printed transfers and apply them with a heat press.
What temperature should I use for DTF transfers?
Most DTF transfers require a temperature between 300-325°F (150-160°C) for 10-15 seconds. Always check the instructions provided by your film or transfer supplier for exact settings.
Can I stretch DTF prints?
DTF prints have some stretchability, but they are not as elastic as the fabric itself. Avoid over-stretching the garment to prevent cracking. For stretchy fabrics, use a transfer with a flexible adhesive.
Final Thoughts
DTF Transfers have revolutionized the custom apparel industry by offering a versatile, durable, and cost-effective printing solution. Whether you're a hobbyist looking to create personalized gifts or a small business expanding your product line, mastering DTF transfers can open up a world of possibilities. With the right equipment, a bit of practice, and the tips shared here, you'll be producing professional-quality prints in no time. So why wait? Dive into the world of DTF transfers and let your creativity shine.