
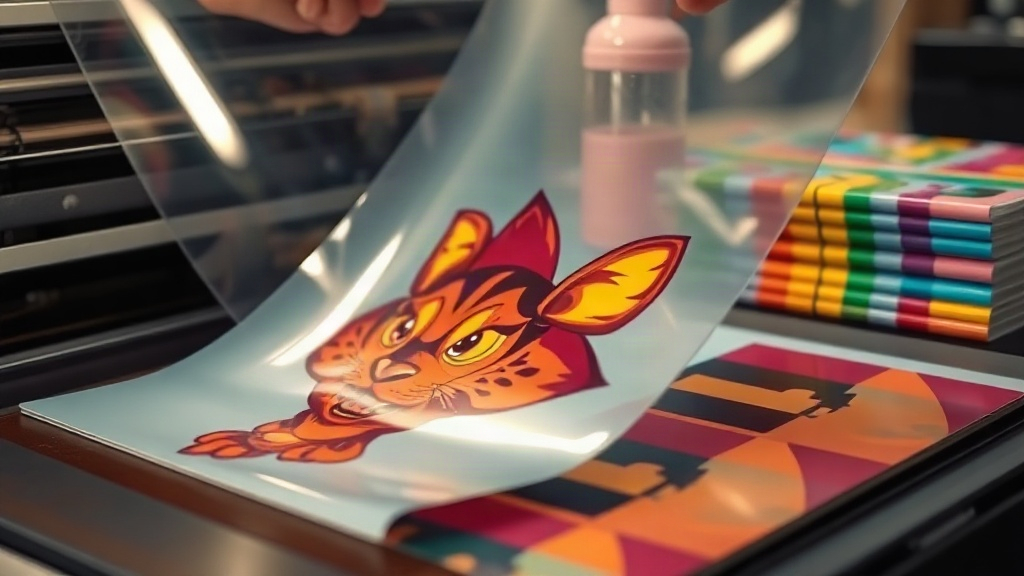
If you've been exploring custom apparel decoration, you've likely encountered DTF printing. Short for Direct-to-Film, this method has rapidly gained popularity for its versatility and vibrant results. Unlike other techniques, DTF allows you to print full-color designs onto a special film, coat them with adhesive powder, and then heat-press them onto various fabrics. Whether you're a small business owner or a hobbyist, understanding DTF can open up a world of possibilities for your creations.
What Exactly Is DTF Printing?
DTF printing is a digital printing process where your design is printed onto a PET film using specialized inks. After printing, a thermoplastic powder is applied to the wet ink, which acts as an adhesive when heated. The film is then cured, and once ready, it can be heat-pressed onto garments. The result is a soft, stretchable transfer that bonds permanently to the fabric.
This method differs from DTG (Direct-to-Garment) because you're not printing directly onto the shirt; instead, you create a transfer that can be stored and applied later. That flexibility makes DTF ideal for on-demand production and for decorating items that are difficult to print on directly, such as caps, bags, and shoes.
Why Choose DTF Over Other Methods?
There are several reasons why DTF has become a go-to for many decorators:
- No color limitations: DTF can reproduce full-color images, gradients, and fine details without the need for separate screens or color separation.
- Fabric versatility: It works on cotton, polyester, blends, and even on treated nylon and leather. You're not restricted to 100% cotton like with some other methods.
- Durability: When applied correctly, DTF transfers withstand repeated washing without cracking or fading.
- Cost-effective for short runs: There's no minimum order quantity, making it perfect for small batches and personalized items.
- Soft hand feel: Advances in ink and powder technology have reduced the plastic-like feel, giving a smooth, flexible finish.
Step-by-Step DTF Printing Process
To achieve professional results, follow these steps carefully. Each stage impacts the final quality, so attention to detail is key.
1. Design Preparation
Start with a high-resolution image. Vector files are ideal, but 300 DPI raster images work well too. Remember that DTF prints are mirrored, so flip your design horizontally before printing. Also, ensure your design has a transparent background if you want the fabric to show through.
2. Printing onto Film
Load your DTF film into a compatible printer. These printers use specialized pigment inks (often CMYK plus white). The white ink layer is crucial: it acts as a base so colors pop on dark garments. Print the white layer first, then the color layer on top. Some printers handle this automatically; others require manual setup.
3. Applying Adhesive Powder
While the ink is still wet, sprinkle the thermoplastic powder evenly over the printed area. Gently shake off excess powder, ensuring a uniform coating. You can use a powder shaker or apply it manually. This powder will melt and bond the transfer to the fabric during heat pressing.
4. Curing the Film
Curing is critical. Place the film in a curing oven or under a heat press at around 160°C (320°F) for 2-3 minutes. The powder should melt completely and become glossy. Overcuring can cause the film to warp, while undercuring leads to poor adhesion. Always follow your powder's recommendations.
5. Heat Pressing onto Garment
Set your heat press to 160-170°C (320-340°F) with medium pressure. Pre-press the garment for a few seconds to remove moisture. Place the transfer on the fabric, cover with a protective sheet, and press for 10-15 seconds. Peel the film while hot (for hot peel) or let it cool (for cold peel) depending on the film type. Most DTF films are hot peel.
Common DTF Problems and How to Fix Them
Even experienced users encounter issues. Here are typical problems and solutions:
- Transfer not adhering: Insufficient pressure, temperature, or time. Increase one variable at a time and test.
- Cracking after washing: Usually caused by undercuring or insufficient powder. Ensure full cure and even powder application.
- Colors look dull: May be due to too little white ink or printing on dark fabric without enough white base. Increase white ink density.
- Film curling: Often from overheating during curing. Reduce curing time or temperature.
- Powder not sticking: Ink may be too dry. Print and powder immediately, or adjust printer settings to increase ink saturation.
DTF vs. Other Printing Methods: A Quick Comparison
Understanding how DTF stacks up against alternatives helps you choose the right technique for each job.
- DTF vs. DTG: DTG prints directly onto cotton garments and is excellent for detailed images, but requires pre-treatment and works best on 100% cotton. DTF works on more fabrics and allows transfer storage.
- DTF vs. Screen Printing: Screen printing is cost-effective for large orders but requires setup per color. DTF excels for short runs and complex designs.
- DTF vs. Vinyl: Vinyl is great for simple text and shapes but limited in color gradients. DTF handles full-color photos.
- DTF vs. Sublimation: Sublimation only works on polyester and light-colored fabrics. DTF adheres to cotton and dark materials.
Tips for Success with DTF Printing
To consistently produce high-quality DTF transfers, keep these best practices in mind:
- Store film and powder in a cool, dry place to prevent moisture absorption.
- Use a dedicated heat press with accurate temperature control.
- Test your settings on scrap fabric before running a full order.
- Clean your printer regularly to avoid clogged nozzles.
- Invest in a good powder shaker for even distribution.
- Keep a log of successful settings for different fabrics.
With practice, DTF printing becomes second nature, and you'll appreciate its flexibility for custom projects.
Frequently Asked Questions About DTF Printing
What fabrics can I use with DTF transfers?
DTF transfers work on a wide range of fabrics, including cotton, polyester, cotton-poly blends, nylon, leather, and even some treated synthetic materials. The key is that the fabric can withstand the heat press temperature without scorching.
How long do DTF prints last?
When properly applied and cared for, DTF prints can last as long as the garment itself. Wash inside out in cold water and avoid bleach and fabric softeners to maximize longevity.
Do I need a special printer for DTF?
Yes, you need a printer that uses DTF pigment inks and has a white ink channel. Many converted Epson printers are popular for this purpose, but dedicated DTF printers are also available.
Can I use DTF on dark shirts?
Absolutely. DTF is excellent for dark garments because the white ink layer provides a bright base for colors to stand out. Just ensure you print enough white ink for opacity.
What is the difference between hot peel and cold peel DTF film?
Hot peel film is removed immediately after pressing while still hot, giving a slightly glossy finish. Cold peel film is allowed to cool completely before peeling, resulting in a matte finish. Both are available, and the choice depends on your preference and the film's instructions.
As you dive into DTF printing, remember that experimentation is part of the journey. Each fabric and design may require slight adjustments, but the rewards are vibrant, durable transfers that set your products apart.