
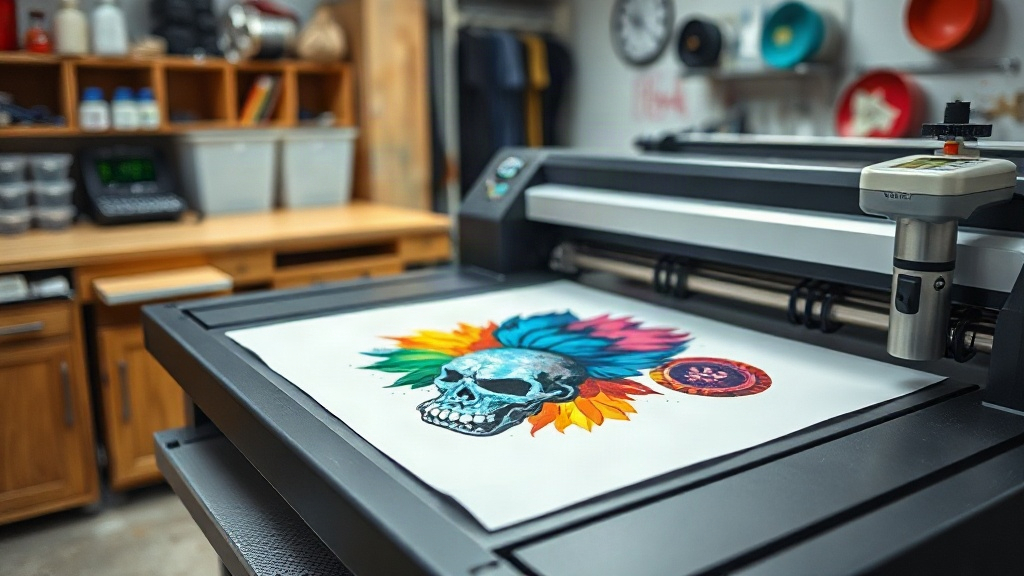
When I first heard about DTF printing, I was skeptical. As someone who had spent years wrestling with vinyl cutters and screen printing presses, the idea of a digital transfer that could handle full-color images on any fabric seemed too good to be true. But after testing it in my garage shop, I became a believer. DTF, or Direct to Film, is a game-changer for small business owners and hobbyists alike. It lets you print intricate designs onto cotton, polyester, and blends without the setup costs of screen printing. In this guide, I'll walk you through the entire process, sharing the lessons I learned the hard way so you can avoid the same pitfalls.
What Exactly Is DTF Printing?
At its core, DTF printing involves printing a design onto a special film, coating it with adhesive powder, and then heat-pressing it onto fabric. Unlike DTG (Direct to Garment), which prints directly onto the shirt, DTF transfers can be stored and applied later. This flexibility is huge for print shops that want to offer custom apparel without investing in expensive equipment. The process works with almost any fabric, including dark colors and synthetic materials, which is a major advantage over other methods.
The Basic Steps
- Design Preparation: Create your artwork in a graphics program, ensuring it's mirrored (unless your printer software does it automatically).
- Printing: Use a DTF printer with specialized inks and film. The printer lays down a layer of white ink first, followed by CMYK colors.
- Powdering: While the ink is still wet, apply hot melt adhesive powder evenly over the design.
- Curing: Melt the powder using a heat press or oven until it becomes glossy.
- Transfer: Press the film onto the fabric with heat and pressure, then peel off the film while it's hot or cold, depending on the film type.
Choosing the Right Supplies
Not all DTF films and powders are created equal. I learned this after ruining a batch of shirts with cheap film that curled and jammed my printer. Here's what to look for:
- Film: Opt for double-sided matte film. It prevents ink from smearing and ensures consistent powder adhesion. Thicker films (around 75 microns) are more forgiving for beginners.
- Ink: Use pigment-based DTF inks. They're designed to stay wet longer, allowing the powder to stick. Don't substitute with regular DTG ink.
- Powder: Thermoplastic polyurethane (TPU) powder is standard. Finer particles (80-200 microns) give a softer hand feel. Coarser powders are cheaper but can feel gritty.
- Printer: You can convert an Epson printer with a DTF kit, or buy a dedicated DTF printer. For beginners, a converted Epson EcoTank works well.
Mastering the Curing Process
Curing is where most beginners stumble. If you undercure, the powder won't melt properly, and the transfer will peel. Overcure, and the film might warp or the ink might crack. I use a heat press at 320°F (160°C) for 2-3 minutes, but the exact time depends on your powder and film. A infrared thermometer helps ensure even heating. You'll know it's done when the powder turns from matte to glossy. Let it cool completely before peeling.
Hot Peel vs. Cold Peel
Some films require you to peel the transfer while it's still hot, others after it cools. Hot peel is faster but can distort fine details if you're not careful. Cold peel gives cleaner edges but slows down production. Always check your film's instructions. I keep a cheat sheet taped to my press to avoid mix-ups.
Common DTF Problems and How to Fix Them
Even with experience, issues pop up. Here are fixes for the most frequent headaches:
- Patchy transfers: Usually caused by uneven powder application. Use a powder shaker for consistency.
- Cracking after washing: Indicates undercuring or insufficient pressure. Increase pressure and cure time.
- Film jams: Often due to static or cheap film. Try a different brand and store film in a dry place.
- Dull colors: Could be expired ink or wrong color profile. Calibrate your printer and use fresh ink.
DTF vs. Other Printing Methods
How does DTF stack up against screen printing, DTG, and vinyl? Screen printing is cheaper for large orders but requires setup per color. DTG is great for 100% cotton but struggles with synthetics. Vinyl is durable but limited to simple designs. DTF shines for small batches, complex designs, and diverse fabrics. It's not the fastest for huge runs, but for a startup or custom shop, it's unbeatable.
Frequently Asked Questions
Can I use DTF on dark shirts?
Absolutely. The white ink layer in DTF printing acts as a base, so colors pop on dark fabrics. Just ensure your white ink is well-maintained to avoid clogs.
How long do DTF transfers last?
With proper curing and washing (inside out, cold water), transfers can last 50+ washes. Avoid fabric softener and high heat in the dryer.
Do I need a special printer for DTF?
You can convert a standard Epson printer with a DTF kit, which includes ink, film, and powder. Dedicated DTF printers are more expensive but offer better reliability for high volume.
What fabrics work best with DTF?
DTF works on cotton, polyester, blends, and even leather. It's not ideal for nylon or fabrics with heavy coatings, as adhesion can fail.
Is DTF printing profitable?
Yes, especially for small businesses. The cost per transfer is low (around $1-3), and you can charge $15-25 per shirt. It's a great way to add custom apparel to your offerings.
Starting with DTF printing can feel overwhelming, but once you dial in your process, it's incredibly rewarding. I've helped dozens of friends set up their own DTF stations, and the look on their faces when they pull their first perfect transfer is priceless. Remember, practice makes perfect. Don't be afraid to waste a few films while learning. Soon, you'll be churning out vibrant, durable designs that impress your customers and keep them coming back.