
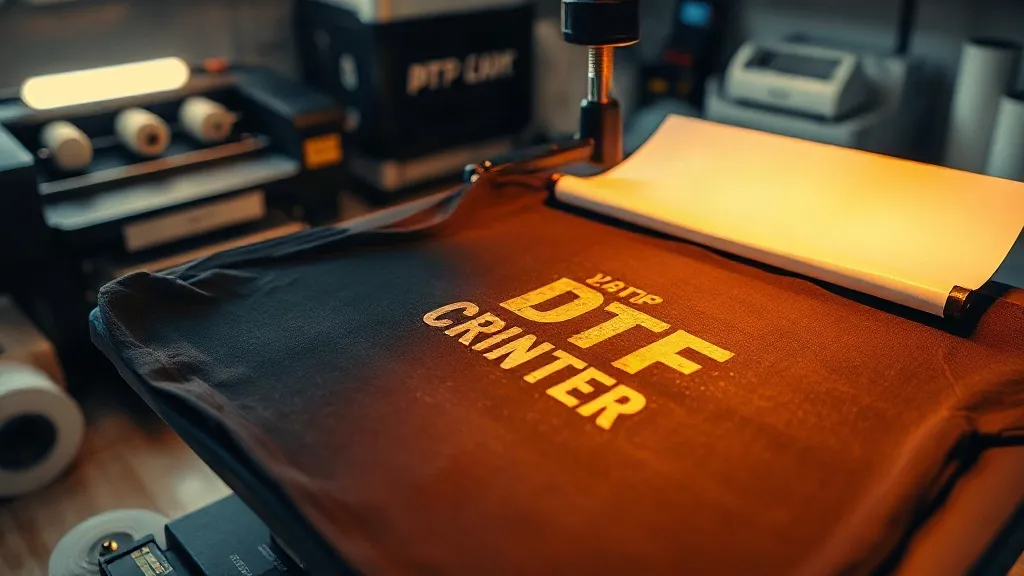
You've spent hours perfecting a design, carefully printed it onto film, and applied it to a shirt, only to watch it peel after the first wash. Frustrating, right? The truth is, most DTF transfer failures aren't caused by faulty materials or bad luck. They stem from a handful of avoidable mistakes that even seasoned printers make. In this guide, we'll uncover the seven most common pitfalls that sabotage dtf transfers and show you exactly how to fix them. Whether you're running a small shop or printing from your garage, these insights will save you time, money, and a lot of wasted film.
Mistake 1: Ignoring Moisture in the Garment
One of the sneakiest culprits behind poor adhesion is moisture trapped in the fabric. Cotton and blends absorb humidity from the air, and if you press a transfer onto a damp shirt, the steam created during pressing can prevent the adhesive from bonding properly. The result? A transfer that looks fine initially but peels after a few washes.
Fix: Always pre-press the garment for 5-7 seconds to release any moisture. This simple step also removes wrinkles and ensures a smooth surface. Store your blanks in a dry environment, and if you live in a humid climate, consider a dehumidifier for your workspace.
Mistake 2: Using the Wrong Pressure
Pressure is a Goldilocks problem: too little, and the transfer won't stick; too much, and the adhesive can bleed or the design can distort. Many beginners either crank the press down as hard as possible or barely touch the garment, hoping for the best.
Fix: Medium pressure is usually ideal for dtf transfers. A good rule of thumb: the press should require firm effort to lock, but you shouldn't feel like you're compressing a brick. Test with a scrap piece of fabric and adjust until the transfer adheres evenly without squashing the fibers.
Mistake 3: Skipping the Pre-Press
We mentioned pre-pressing to remove moisture, but it's worth emphasizing as a separate step. Skipping it entirely is a recipe for disaster. Besides moisture, pre-pressing flattens the fabric and removes wrinkles that can cause uneven transfer application.
Fix: Make pre-pressing a non-negotiable part of your workflow. A quick 5-second press at 330°F (165°C) can make the difference between a professional-looking print and a amateurish one.
Mistake 4: Peeling Too Soon (or Too Late)
Peeling the carrier film at the wrong temperature is a classic error. Peel too soon, and the design stretches or smears; wait too long, and the adhesive cools, making it difficult to remove cleanly.
Fix: For most dtf transfers, you should peel while the transfer is still warm, but not hot. Wait about 5-10 seconds after pressing, then peel in a smooth, steady motion. If you're using a cold-peel film, follow the manufacturer's instructions, but generally, warm peel works best for standard DTF.
Mistake 5: Neglecting the Curing Stage
Many printers think the job is done once the transfer is applied, but curing is what locks the print into the fabric and ensures durability. Without proper curing, the transfer may crack or fade after a few washes.
Fix: After peeling the carrier film, press the garment again for 5-10 seconds with a protective sheet (like parchment paper or a Teflon sheet) over the design. This post-press cures the adhesive and smooths the print. Avoid ironing directly over the design, as it can cause sticking.
Mistake 6: Using the Wrong Heat Settings
Temperature and time are critical for DTF transfers. Too hot, and the film can melt or the adhesive can become too fluid, causing bleeding. Too cool, and the adhesive won't activate properly.
Fix: Always follow the recommended settings for your specific film and press. A common range is 320-340°F (160-170°C) for 10-15 seconds. Invest in an infrared thermometer to verify your press's actual temperature, as dials can be inaccurate. And don't forget to adjust for fabric type: thicker fabrics may need slightly more time.
Mistake 7: Overlooking Film Storage
DTF film is sensitive to environmental conditions. Exposure to moisture, direct sunlight, or extreme temperatures can degrade the adhesive and cause printing issues.
Fix: Store unused film in a cool, dry place, ideally in a sealed bag or container. Avoid stacking heavy objects on top of the film, as pressure can damage the coating. Proper storage ensures consistent performance and extends the shelf life of your supplies.
Bonus Tip: Choosing the Right Transfer for the Job
Not all DTF transfers are created equal. Different films and powders are designed for specific fabrics and applications. For example, stretchy fabrics require a more flexible transfer, while heavy cottons can handle standard films. If you're ever unsure, consult your supplier or test a small sample before committing to a large order. And if you're looking for reliable dtf transfers near me, do your research to find a reputable source that offers consistent quality.
Frequently Asked Questions
Why does my DTF transfer peel after washing?
Peeling usually indicates insufficient pressure, moisture in the fabric, or improper curing. Ensure you pre-press the garment, use medium pressure, and post-press after peeling to activate the adhesive fully.
Can I use DTF transfers on dark colors?
Absolutely. DTF transfers include a white ink layer that makes them opaque, so they work beautifully on both light and dark fabrics. Just make sure your design has enough white backing for vibrant colors.
How long should I press a DTF transfer?
Most DTF transfers require 10-15 seconds at 320-340°F (160-170°C). However, always check the instructions provided with your film, as times can vary. Using a press with consistent temperature and pressure is key.
What's the difference between hot peel and cold peel DTF film?
Hot peel film is designed to be peeled immediately after pressing while still hot, which can give a slightly glossier finish. Cold peel film must cool completely before peeling, often resulting in a softer feel. Both have their merits, so choose based on your desired outcome and follow the manufacturer's guidelines.
Do I need a special printer for DTF transfers?
Yes, DTF printing requires a printer that uses DTF ink and a powder shaker. However, if you're buying pre-printed transfers, you only need a heat press to apply them. Many small shops opt for pre-printed transfers to avoid the upfront cost of specialized equipment.