
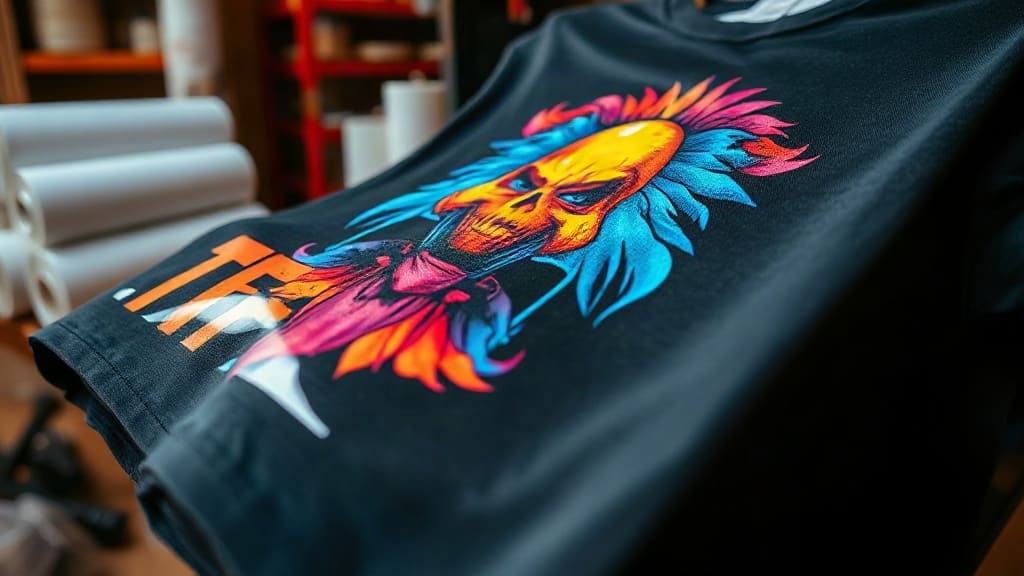
If you're in the apparel decoration industry, you've likely heard about DTF transfers. They have revolutionized how custom garments are made, offering a versatile and cost-effective alternative to traditional screen printing and direct-to-garment (DTG) methods. But getting perfect results with DTF is not just about owning the right equipment. It involves a delicate balance of art and science, from choosing the right films and inks to mastering the curing and pressing process. In this comprehensive guide, I'll share my personal experience and industry knowledge to help you achieve flawless, long-lasting DTF transfers every time.
Understanding the DTF Process
Before diving into the tips, it's essential to understand what DTF transfer entails. The process involves printing a design onto a special PET film using DTF inks (typically CMYK plus white), applying adhesive powder to the wet ink, and then curing the powder. The film is then cut, and the design is transferred to a garment using a heat press. The beauty of DTF is that it works on a wide variety of fabrics, including cotton, polyester, blends, and even nylon, with minimal effort.
Key Components for Successful DTF Transfers
To ensure your DTF transfers come out looking sharp and lasting long, you need to pay close attention to several components:
- High-quality PET film: The film is the foundation. Cheap films may cause issues like poor ink adhesion or curling.
- DTF ink quality: Use reputable inks that are specifically formulated for DTF printing. They need to have good opacity, especially the white ink.
- Adhesive powder: The powder type and particle size affect the transfer's durability and feel. A finer powder results in a softer hand.
- Proper curing: Curing the powder correctly is critical. Undercuring leads to poor adhesion, while over-curing can cause the powder to yellow or become brittle.
- Heat press settings: Temperature, pressure, and time must be optimized for the specific garment fabric.
Step-by-Step Guide to Perfect DTF Transfers
Let me walk you through the process, highlighting the nuances that separate average results from exceptional ones.
Step 1: Design Preparation
Start with a high-resolution design (300 DPI) with clean edges. Keep in mind that DTF printing requires a white underbase for designs on dark garments. Most DTF software allows you to generate a white layer automatically, but ensure the design has proper choke (spread) to avoid white outlines. I always check my artwork in a proofing tool to see how it will look.
Step 2: Printing on PET Film
Print your design onto the PET film using the correct color profile. The ink layer should be thin but opaque. For the white ink, you need to print a sufficient layer to cover the garment color, but not too thick that it creates a heavy feel. I recommend using a printer with a reliable white ink circulation system to prevent settling.
Step 3: Applying Adhesive Powder
Immediately after printing (while the ink is still wet), shake a generous amount of adhesive powder over the film. The powder should cover the entire printed area. Then, remove the excess powder by tapping the film or using a vacuum system. The powder adheres only to the ink, leaving the unprinted areas clean.
Step 4: Curing the Powder
This step is often overlooked but is vital. Cure the powder in a drying oven or with a heat gun at the manufacturer's recommended temperature (usually around 160-180°C or 320-356°F) for 2-3 minutes. The goal is to melt the powder and bond it to the ink. A good test is to touch the surface; it should feel smooth and not tacky. In my experience, undercuring leads to poor washing results.
Step 5: Cutting and Weeding
Once the film is cured, cut out your design using a cutter plotter. If you have multiple transfers, you can 'kiss cut' them on one sheet for easier handling. Weeding is minimal because the powder doesn't stick to unprinted areas.
Step 6: Pressing onto the Garment
Now comes the exciting part. Preheat your heat press to about 160-170°C (320-338°F). Place the garment on the press, and position the transfer film (with the printed side facing down) on the desired area. Press with firm pressure for 10-15 seconds. The exact time depends on the fabric and press. After pressing, peel the film either hot or cold, depending on the powder type. Some powders require hot peeling for better adhesion. Always test with a scrap piece first.
Common Mistakes and How to Avoid Them
Even seasoned professionals can encounter issues. Here are some pitfalls I've encountered and how to overcome them:
Poor Adhesion and Peeling
If your design peels off after a few washes, it's likely due to insufficient powder or undercuring. Ensure you apply enough powder and cure it properly. Also, check your press pressure; too little pressure can cause the transfer to not bond fully.
Cracking or Fading
Cracking can occur if you over-press or use too high temperature, which makes the ink film brittle. Fading may result from using low-quality inks or not enough white underbase. Always use premium inks and adjust your white layer thickness based on the garment color.
White Ink Showing Through
When printing on light garments, the white underbase may be unnecessary, but if you print it anyway, it can cause a visible outline. For light colors, you can print without white, or use a lighter white layer. I always choose the appropriate mode in my RIP software.
Advanced Tips for Professional Results
Once you've mastered the basics, consider these advanced techniques to elevate your DTF transfers:
- Use a pre-press: Pre-pressing garments removes moisture and wrinkles, leading to better adhesion.
- Test different powder types: Some powders have a matte or glossy finish. Choose according to your design requirements.
- Optimize the white ink layer: For dark garments, you might need two white layers for opacity. But beware of thickness.
- Invest in a good heat press: A clamshell press with even pressure and temperature distribution makes a big difference.
- Maintain your equipment: Regularly clean your printer nozzles and calibrate your heat press to ensure accuracy.
Frequently Asked Questions
Can DTF transfers be used on any fabric?
Yes, DTF transfers work on a wide range of fabrics, including cotton, polyester, blends, and even leather (with caution). However, the heat press temperature and time may need adjusting. For synthetic fabrics, use lower temperatures to avoid melting the garment.
How do I store unused DTF transfers?
Store your printed and cured DTF transfers in a cool, dry place, away from direct sunlight. Keep them flat or rolled in a protective sleeve to prevent dust and moisture. Properly stored transfers can last for months without losing quality.
What is the difference between DTF and DTG?
DTG (Direct-to-Garment) prints directly onto the shirt using a specialized printer. DTF involves printing on a film and transferring it with a heat press. DTF is more versatile for various fabric types and provides a softer feel. It also allows you to print on demand without extensive pre-treatment.
Why does my DTF transfer crack after washing?
Cracking is usually caused by over-curing or pressing at too high a temperature, which makes the ink film brittle. It can also happen if the powder is applied too thick. Ensure you follow the recommended curing and pressing parameters and use high-quality materials.
Can I use an ordinary heat press for DTF transfers?
Yes, you can use a standard heat press, but it should have accurate temperature control and even pressure. A press with adjustable pressure is recommended, as consistent pressure helps the transfer bond evenly. Avoid using a home iron, as it cannot provide the required temperature and pressure.
Conclusion
Mastering DTF transfers is a rewarding journey that combines creativity with technical precision. By following this guide, you can avoid common mistakes and produce high-quality transfers that impress your customers and withstand the test of time. Remember, practice makes perfect. Start with simple designs, fine-tune your settings, and keep a log of what works. Soon, you'll be creating stunning DTF transfers with confidence and ease.